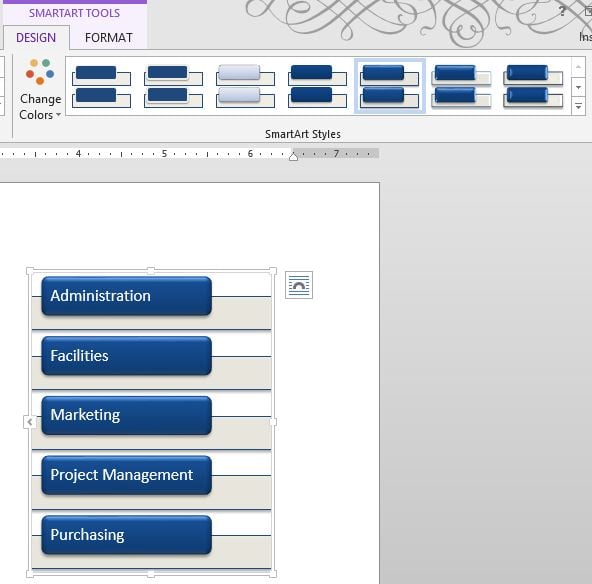
Bulleted lists are great for effectively communicating with your audience in a way that is very readable. Instead of Administration, Facilities, Marketing, Project Management and Purchasing departments listed with commas as part of a sentence, how do you make a bulleted list? Even better, how do you make a bulleted list as SmartArt? Replace bulleted text with a great-looking graphical list!
1. Begin with text in a simple list format.
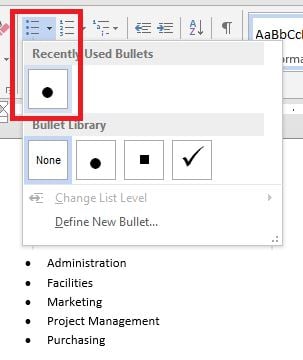
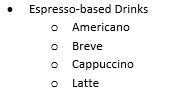
2. Highlight the list and click on the Bullets button in the Paragraph group on the Home tab. Choose a bullet from the Bullet Library and you will see your list quickly converted to an easy-to-read bulleted list.
3. Next, highlight the bulleted list and cut it by using Ctrl-X or the Cut button from the Clipboard group on the Home tab.
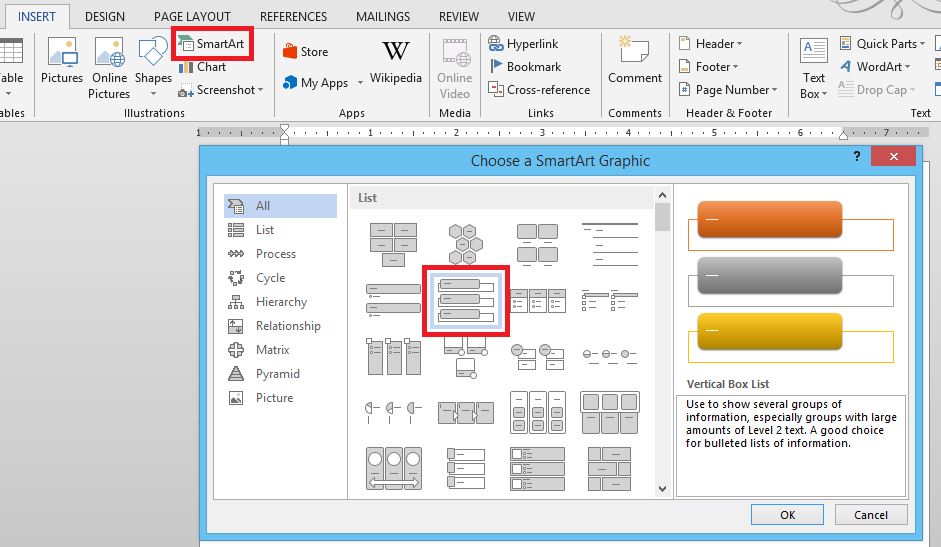
4. Click on the Insert tab and choose SmartArt from the Illustrations group. Choose a SmartArt Graphic from the list and click OK.
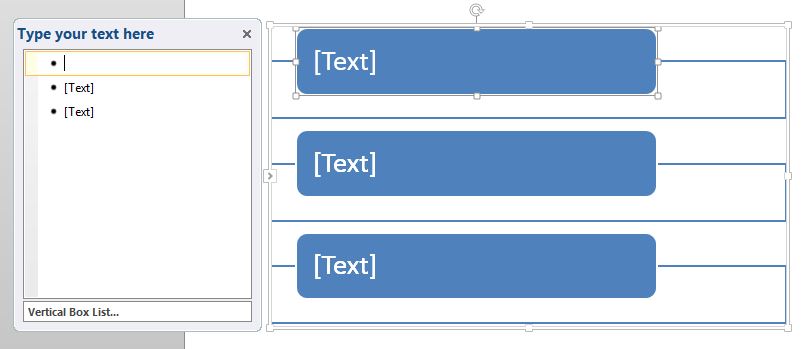
5. A generic SmartArt graphic will be inserted.
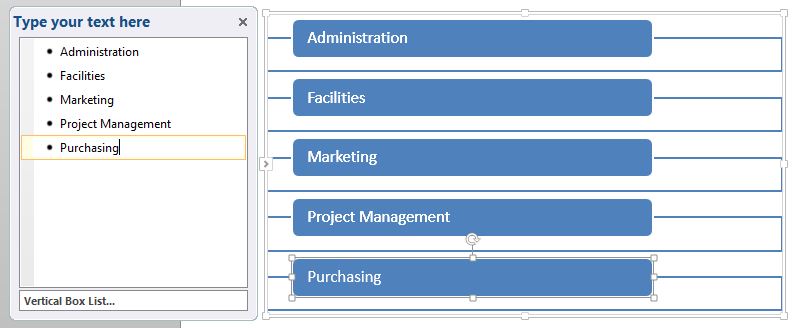
6. Click in the left Vertical Box List and paste in your bulleted list by using the keyboard shortcut Ctrl-V.
7. After the bulleted text has been inserted, click on the SmartArt Tools Design tab and choose from the SmartArt Styles gallery or format manually using the Format tab.
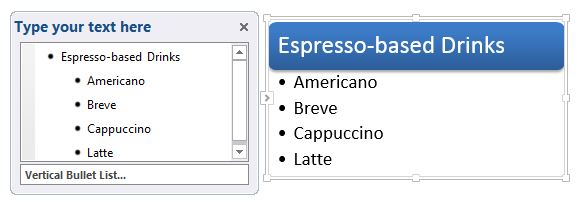
8. This looks so much better than a plain bulleted list, but what if you have sub bullets? Well, all you have to do is cut your text using Ctrl-X, make another selection from the SmartArt list and repeat the steps.
9. Use Tab to demote your text and Shift-Tab to promote our text within the Vertical Bullet List.
10. Format any way that you like using the SmartArt Tools Design tab.
Converting an existing bulleted list to something that is more visually pleasing is incredibly easy!
Like this step-by-step tutorial? We've got a great video, 10 Supremely Useful Features in MS Word. Watch the video to see this step-by-step in action and get 9 other great tips too!

