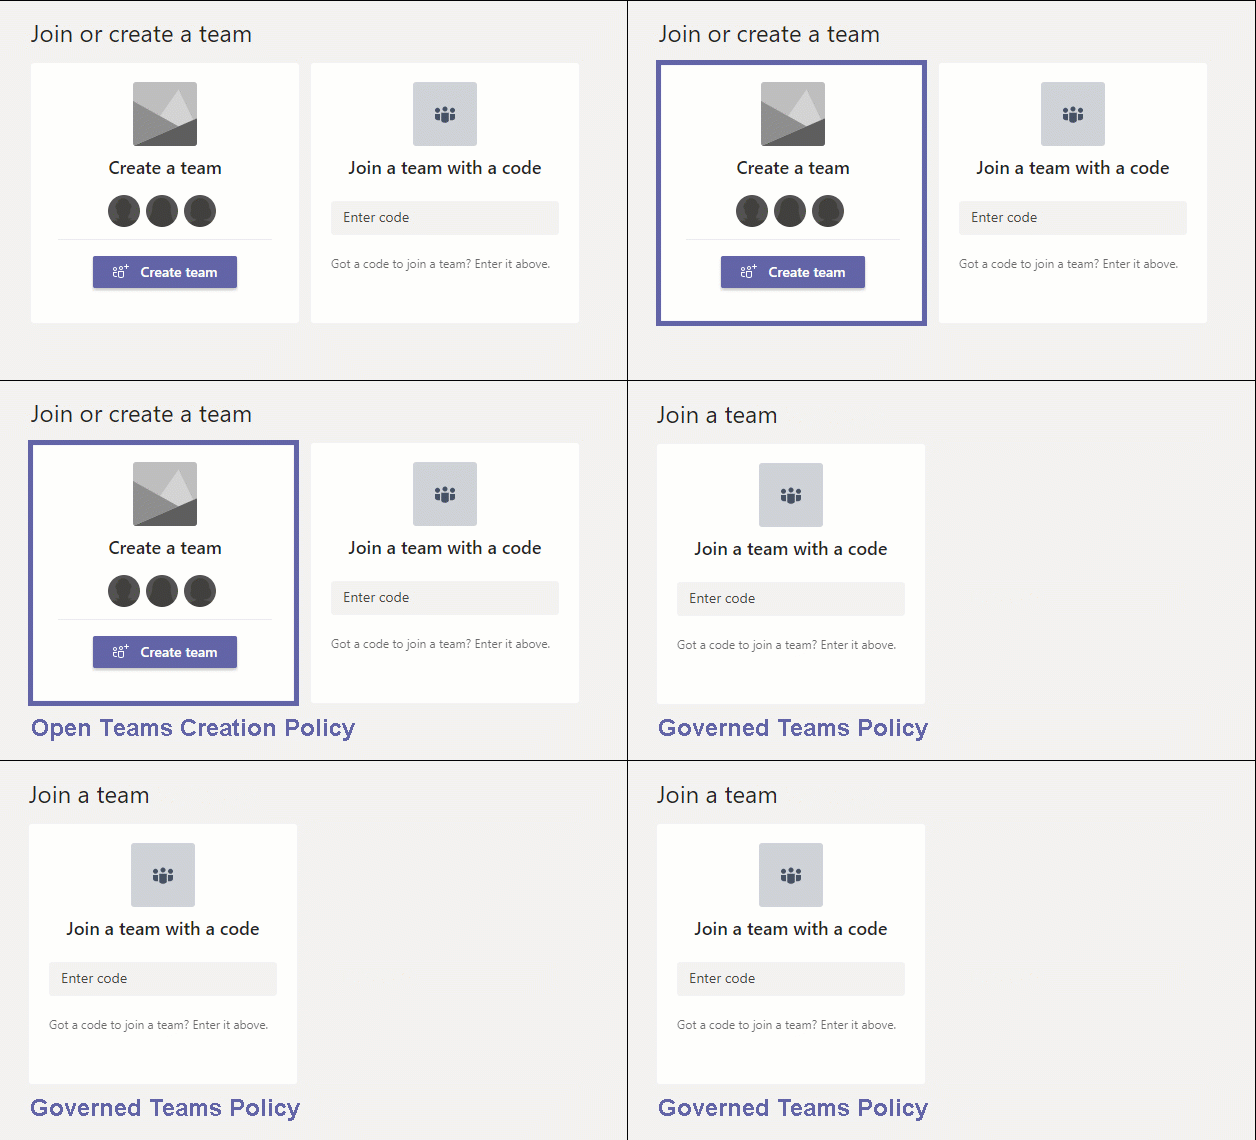
In this post, I wanted to share specifically how you can disable users from creating Microsoft Teams and how can you remove the 'Create a Team' box within the application. Let me be clear, it is my opinion that you must provide some sort of starting architecture if you want to promote Teams usage and foster user adoption of this powerful tool.

In many of my posts, I’ve suggested disabling this functionally until basic governance is in place with Microsoft Teams. Namely, defining and setting policies around team expiration, retention, and archiving to automatically manage the life cycle of a Team. If you are going to disable the Create a Team option, you need to have put some thought around the various Team you are going to make available at deployment. On the basic end that might be a company-wide team, or you may want to set up Teams for various business units or departments. If you’re already using SharePoint Online, considering building Teams off of that structure. In addition to the starting architecture think about your provisioning process for those that will start knocking on your door asking for a Team. I recommend a Microsoft Teams Template strategy and wrote about using templates to manage your Teams Governance.
“Using a template process can add prefix and or suffix to a requested Team name based on several factors leveraging Azure AD information about the user. For example, adding a suffix for EU, or Canada based on the requester’s location. If it’s in AD you can automate it. In addition to naming conventions, a good template process can include an approval workflow before the team is provisioned.”
Steps to Disable Teams Creation within Microsoft Teams
This is a pretty straight forward process where you will create a Security Group in Azure AD, add people that you want to be able to approve Team creation to that group, and then disable the Create Site a Team option by running a PowerShell script. It’s not complicated so if you’re not a PowerShell wizard, don’t worry.
Note that the admin creating the security group and configuring the creation settings along with any members of the security group who are authorized to create Groups will need an Azure AD Premium license. If you are licensed for education an Azure AD Basic EDU license will work. An Azure AD Premium P2 runs $9/month.
Step 1: Create Your Security Group
- Log into Office 365 and go to the Office 365 Administration Center.
- Select Groups on the left navigation bar.

- Choose, Add a group.
- Select Security as the Group type you choose and click Next.
- Name your group, example; TeamCreators or CreateTeams and add a short description and click Next.
- Review and then click Create Group.
- Find your new Group and click on the name and select Members.
- Click in View all and manage members.
- Click the + Add Members at the top.
- Search and add anyone you want to be able to create Teams, make sure to click Save and then Close.
Step 2: Run your PowerShell Script to Remove the Create Teams Tile
This step is documented well, but if you aren’t used to using PowerShell it still may be more of a challenge. If you work with a Managed Service Provider (MSP) or a Cloud Solution Provider (CSP) they should be able to help you with this complete process.
You will need to use Azure Active Directory PowerShell for Graph (AzureAD), the specific module name to install is, AzureADPreview. If you haven’t installed it already, on your PC, search for Windows PowerShell, and run it as an administrator. Type Install-module AzureADPreview and type Y to accept.
Important, if you have the AzureAD module installed, you will need to uninstall it before installing AzureADPreview. To do so, at your command prompt in PowerShell type Uninstall-Module AzureAD, then install, AzureADPreview. If your script fails, it’s likely due to having AzureAD installed.
Download This Notepad file with the PowerShell Script. Open and edit the $GroupName = "<CreateTeams>" replacing <CreateTeams> with the name of your security group. Save the notebook file as GroupCreators.ps1 (default name of the file on this blog post).
 Now in your PowerShell window, browse to the directory your file is located, using CD to change directories. Example: cd /scripts where scripts are a root folder on my C drive. When you are in the correct location in PowerShell run the script by typing the following .\GroupCreators.ps1 and pressing enter. You’ll be prompted to log in with your Office 365 Administrator Account. After the script runs the last line should display, EnableGroupCreation False.
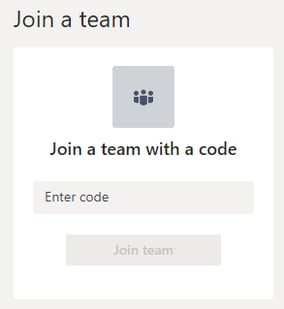
If everything worked, you can check with an account not in your security group and they should only see the Join a Team tile. You can test further by going to Planner and selecting the New Plan option. You should receive a message that plan, and group creation is disabled.
Removing this function is a process we follow with our Teams Template Governance recommendation. If you’d like to learn more about that process and see an explainer video, read and watch this post, How to Provide Governance for Microsoft Teams using a Template Policy.
About KnowledgeWave
For the past 20 years, KnowledgeWave has been helping companies deploy and adopt the latest business software. We stay up to date with the most recent software features and are constantly adding additional training to our online learning library, the KnowledgeWave Learning Site.
As a Microsoft Partner, we stay on top of all the newest features released within Microsoft Teams and Office 365. We pride ourselves on having helped hundreds of organizations throughout North America deploy business solutions for their organizations.
If you are researching, considering, or planning on deploying Teams or Office 365 within your organization, let us help guide you through the process. We offer:


