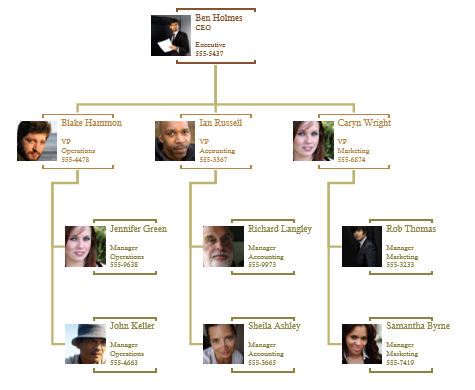
 One of the most exciting parts of my job is to coach people, saving them time and making their day a little bit easier. I've found myself saying, "My job is to make you look like the hero!"
I used that phrase today, which inspired me to write about it. I just finished teaching a course on Microsoft Visio and the highlight was the lesson on organization charts, a huge hit among Visio users. Just click on the Organization Chart template to get going.
We started from scratch by dragging and dropping different Organization Chart Shapes, including the very cool Multiple shapes stencil. Of course, we double-clicked to add names and spent a fair amount of time crafting and modifying to make it perfect. Creating a Visio org chart is not as difficult or as daunting as you might think. Often, people will use SmartArt in Word or PowerPoint to build an organization chart (which offers a great-looking finished product, especially if you don’t have Visio) however, there’s a better and quicker way using Microsoft Visio.
Consider how much time you can save by using the Organization Chart Wizard!
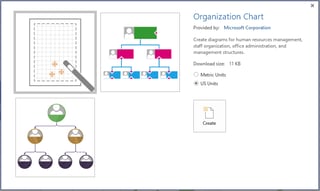 With Visio 2016, you don't need to start completely from scratch. There are three choices.
There's a basic Organization Chart, which immediately offers a wizard (you can cancel it and start from scratch). There's a Department Organization Chart and there's a Hierarchical Organization Chart to get you started.
I'll walk you through the steps. Begin by clicking on the Org Chart tab and clicking the Import button.

There are two ways to use the Organization Chart Wizard:
- You can choose to create from information that’s already stored in a file or database.
- You can choose information that you enter using the wizard.
We began by entering information using the wizard following the prompts by clicking Next> and choosing Excel. Name the file and click Next>.
This is the sample text: Type over it to create your data file, then save the file and choose File > Exit to continue to the wizard.

We then get the choice to include pictures in the organization chart, but we’ll leave the defaults and click Next>.
We kept the defaults and clicked Finish.
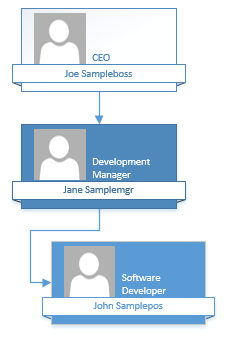
A Visio org chart (in this case, just from the sample data) looks like this!
Someone in class mentioned that she needs to make a large Visio org chart but already has the data in an Excel file.
Check this out!
We then chose "Information that's already stored in a file or database" and clicked Next> and followed the prompts to browse out to choose an Excel file with the data.
We were then prompted to make choices as far as how we handle columns. At first, choosing the defaults is fine. Click Next>.
We wanted to show all information, so we added all columns to be displayed. Click Next>.
We were then prompted to import pictures, but chose not to. Click Next>.
Lastly, we clicked finish!
Considering all of the dragging and dropping and typing that we had to do before, minds were blown when we could use and existing file and click through a wizard.
A plain Visio org chart is created.
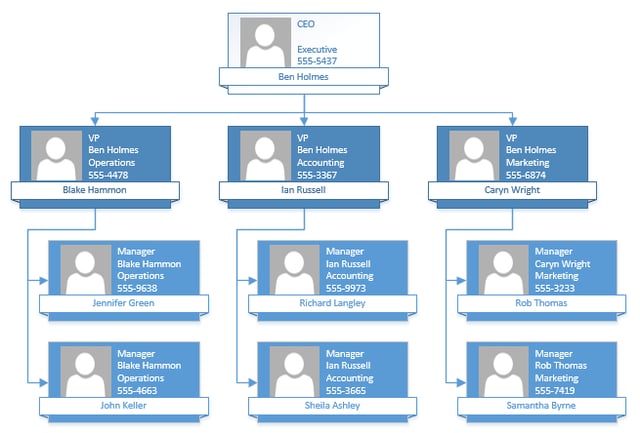
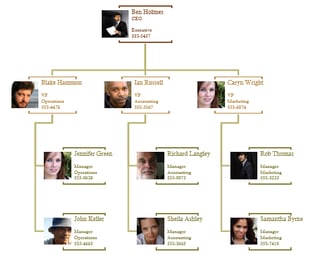
We then added some photos and made some formatting changes. Beautiful.
Hours of time saved and, as I say, you look like the hero!
